Managing Master Data For Cross Environments in Dynamics 365 Business Central
Introduction
The standard Business Central Master Data Management functions allow for synchronisation of master data across companies within the same environment. This extension provides for the synchronisation of data across environments.
Note: Some technical assistance will be required for the setup since it requires Azure Active Directory values for Client ID and Client Secret.
Synchronisation is achieved through the use of Business Central API to fetch data from the MAIN Company in another environment.
To get our solution, visit us on Microsoft Marketplace MDM Cross Environment
Setup Requirements
Master Data Management Setup
Assumption: The setup is completed from a company deriving common Master Data from the main company in another environment, and that the main company exists.
Navigate to DGB MDM Cross Integration and click +New to add a new record.
Example:

-
Code — Enter a code to represent the MASTER company.
-
Enable Cross Environment — Check this to enable the synchronisation.
-
Connection URL — This is a standard URL (https://api.businesscentral.dynamics.com ).
-
Client ID — Obtained from Azure Active Directory (in the Master company environment).
-
Client Secret — Obtained from Azure Active Directory (in the Master company environment).
-
Company ID — Obtained from the Master company.
Example:
-
Enable Customer Sync — Enable this to synch Customers.
-
Redirect URL — Standard link to authenticate connection (https://businesscentral.dynamics.com/OAuthLanding.htm ).
-
OAuth Authority URL — Standard (https://login.microsoftonline.com/ ) login link.
-
Tenant ID — Obtain this from the Master company environment.
Example:
After setting up the inter-environment parameters to point the synchronisation to the MAIN company, click on Synchronisation Tables to open the list of tables for selection.

In the Synchronisation Tables page, select +New to add a new table for synchronisation:
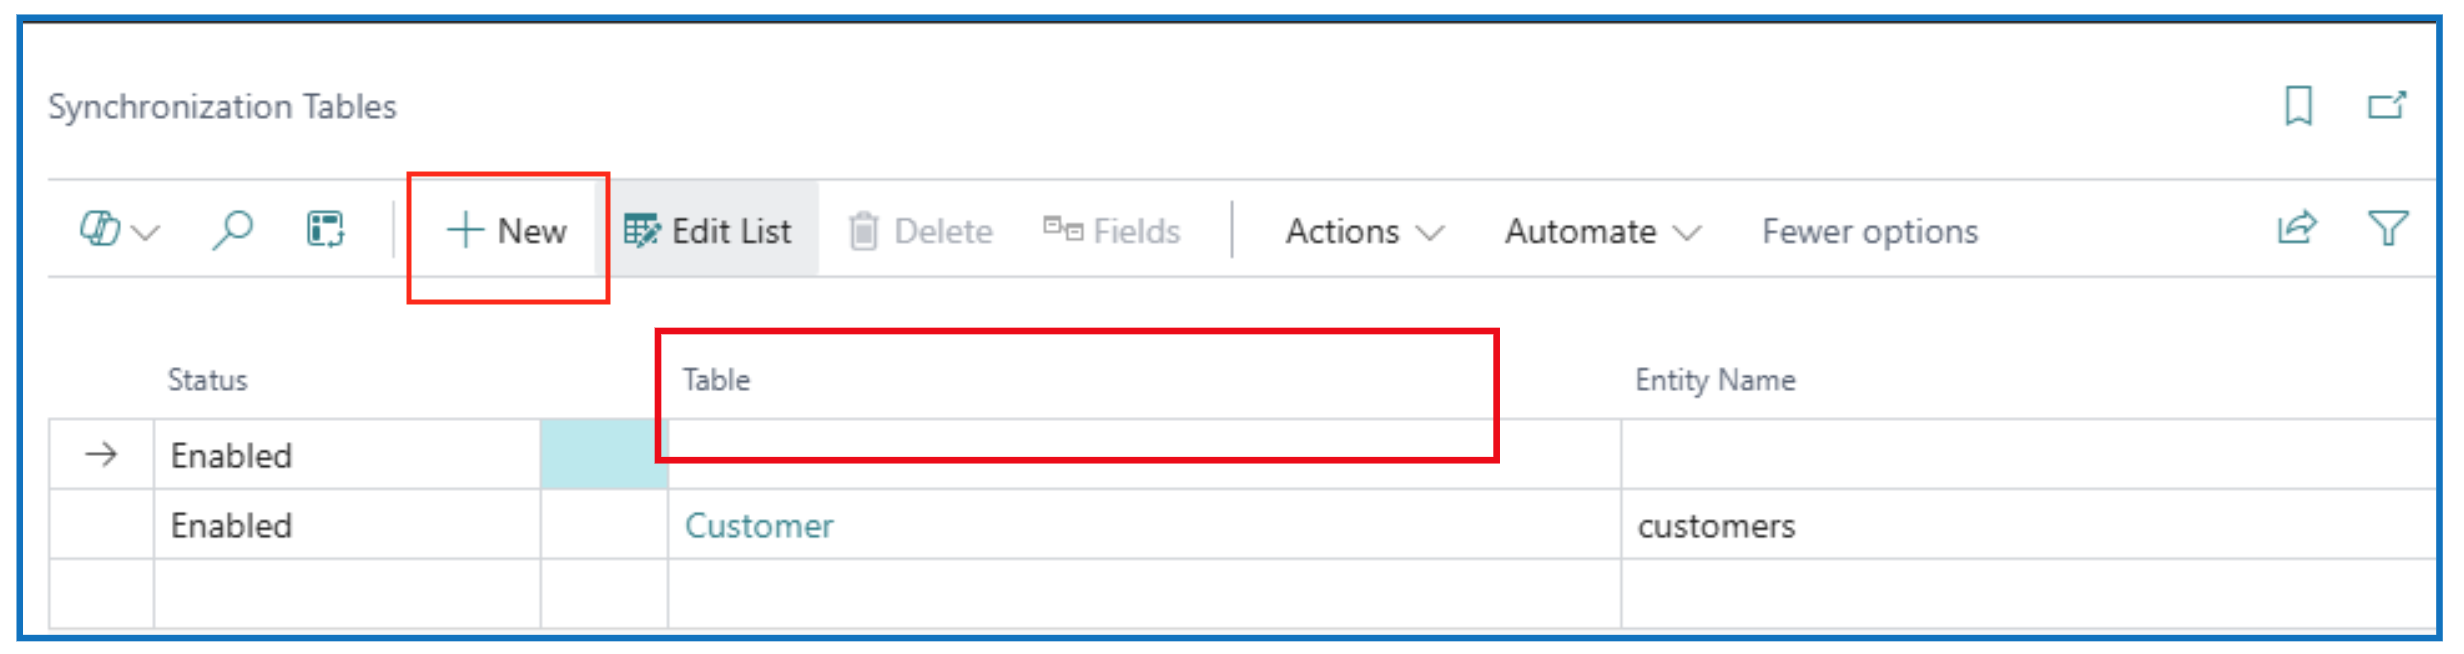
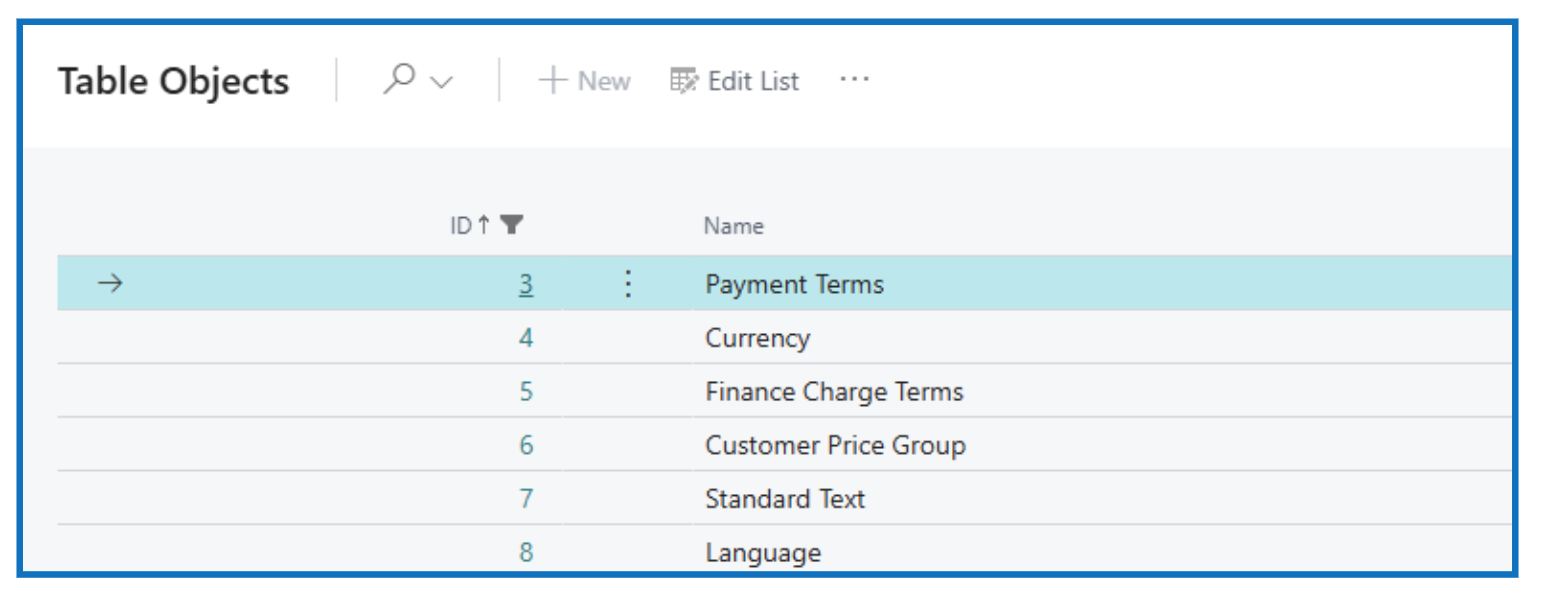
Click on the Table field to open the list of table objects in the current company to map with the MAIN company.
Example:
When a table is selected, the fields are displayed. Enable the field to synchronise and enter the API Field Name.
The API Field Name is derived from the Table API refer to Learn Tutoprial
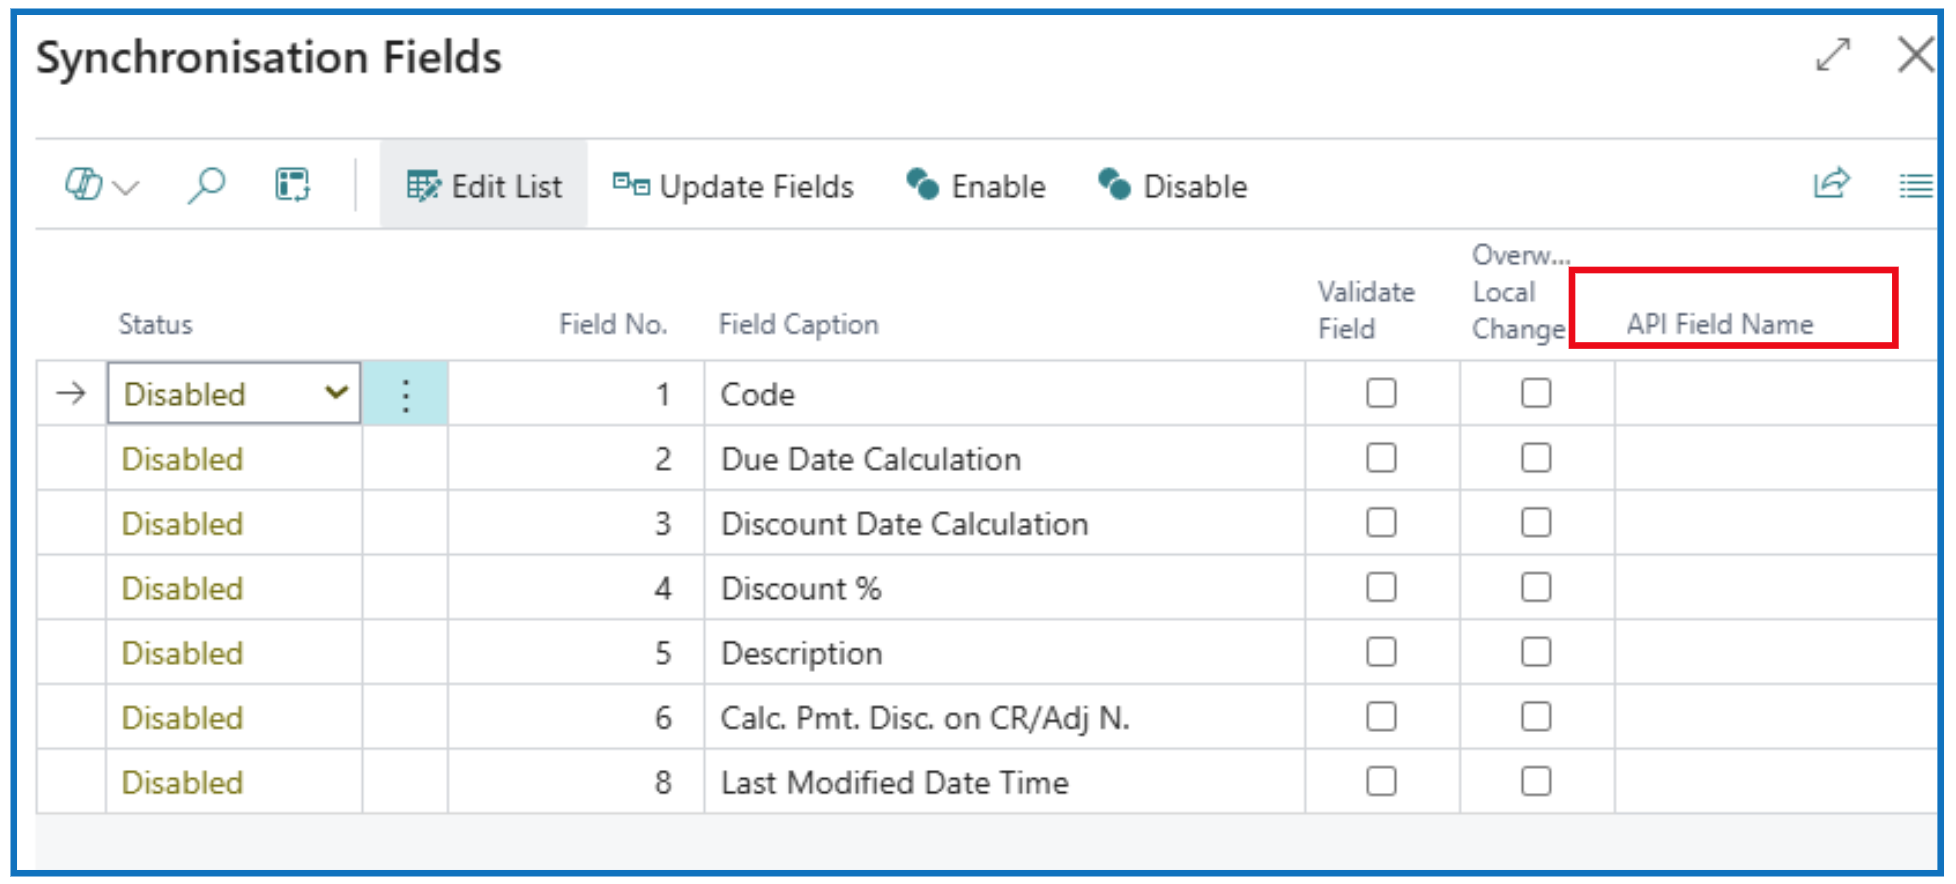
After selecting the fields to synchronise and updating the API Field Name, close the field list and return to the Synchronisation Tables list.

The new table object is added and Enabled. Next is to enter the Entity Name (derived from the API used).
Synchronising Job Queue
Create Job Queue
After the synchronisation is setup, a job queue can be created to schedule the synchronisation.
- Click on menu option Create Job Queue.
Example:

Written By:
Peter Loo
Team Leader, Business Central
Connect on LinkedIn