Sales & Receivables User Guide in Dynamics 365 Business Central
Customer and Contacts
A Customer (Business Central context) represents a specific legal entity (or sole proprietorship). When a customer account is created, a corresponding Contact is also created for the Business Relationship (used in the CRM module).
It is possible to have a single customer account with several business contacts (people) associated with the company. These are created as Contacts and each can have different phone numbers, mailing addresses, and emails.
Customer
Navigate to the list page using menu option Customers.

The customer list page shows all customer accounts defined in the system.
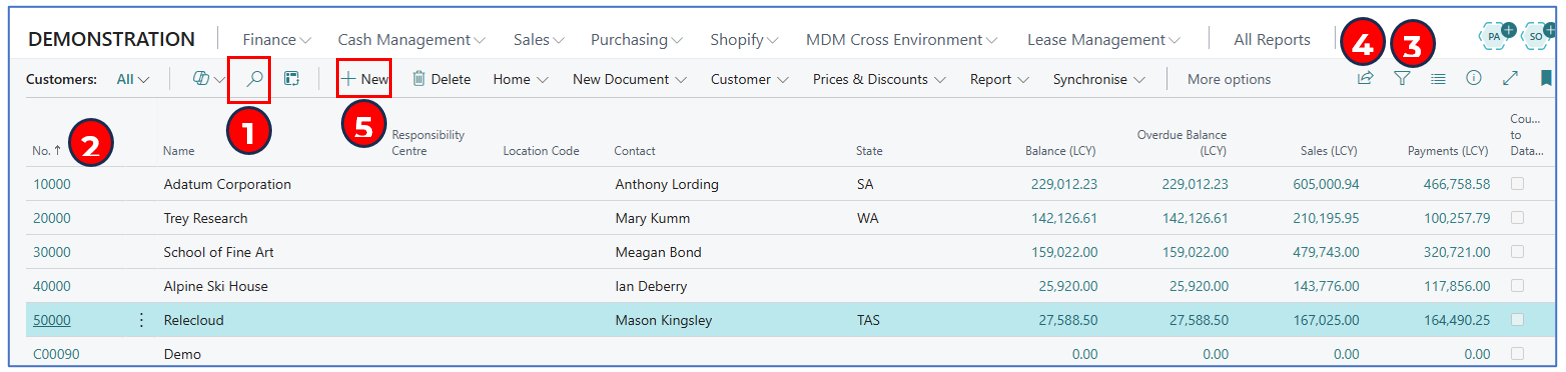
From this list, you can:
-
Use the search feature (magnifying glass icon) in the top right corner of the list to find any customer based on an alphanumeric search string.
-
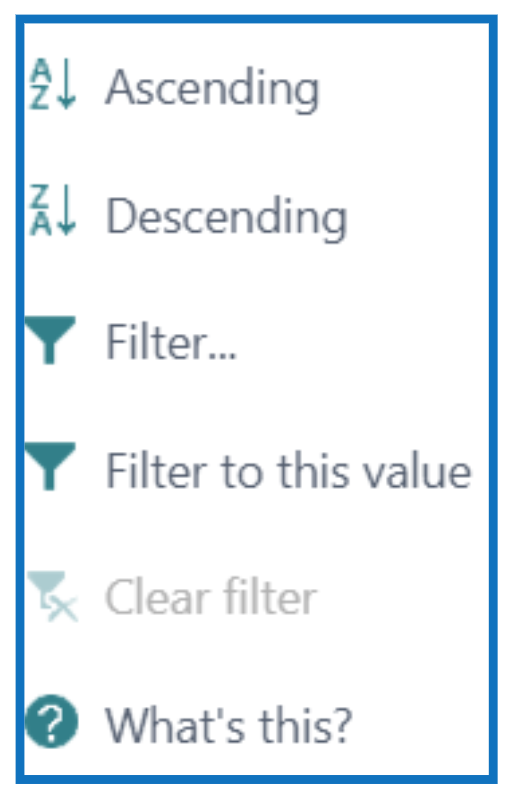
Sort the list based on any column (with the Ascending or Descending arrow).
-
Use the filter option to open a left filter pane and define one or more filters on data fields.
-
Use the Export function to export the list to Excel.
-
Create a new customer.
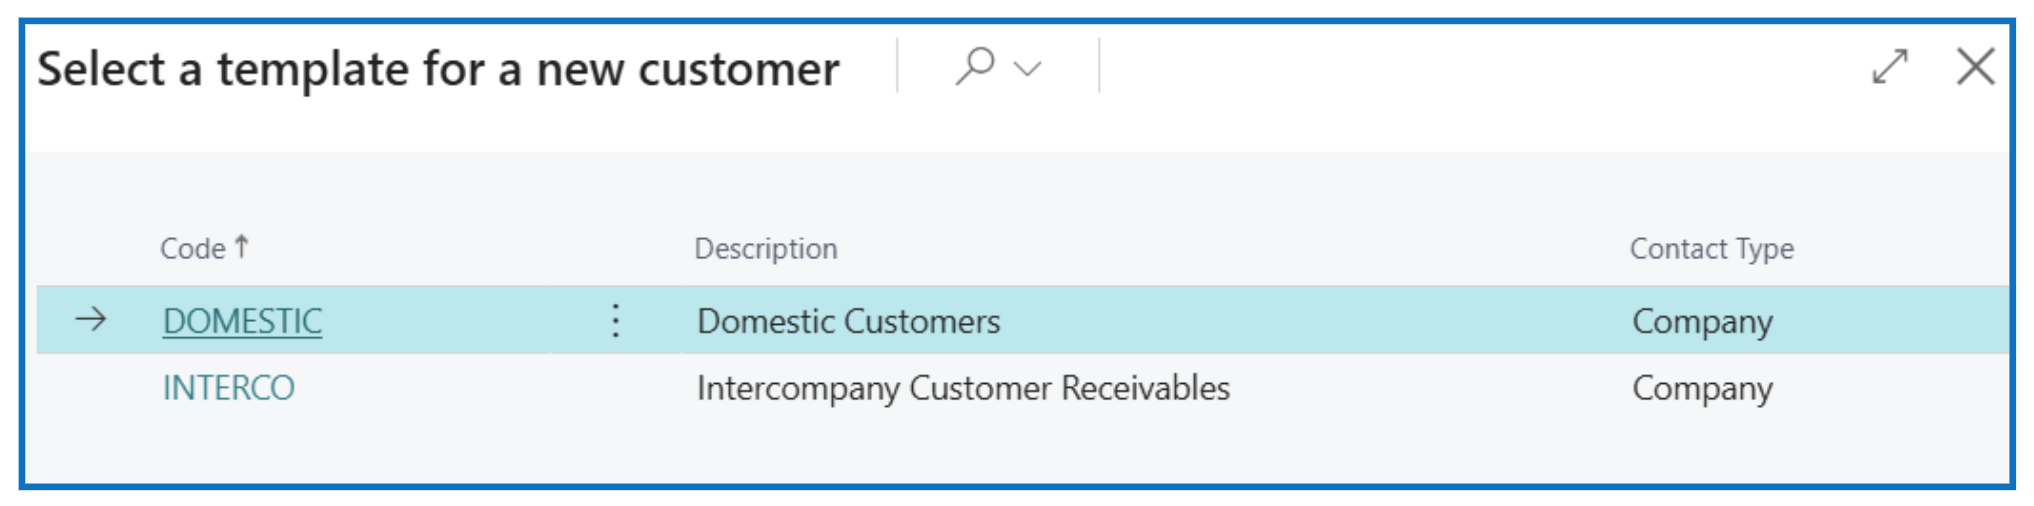
Optional: If customer templates are configured, select the desired Customer Template to create a new customer with the default Posting Groups.
Example:
Customer Card
In a new Customer card (page), define the necessary key fields:
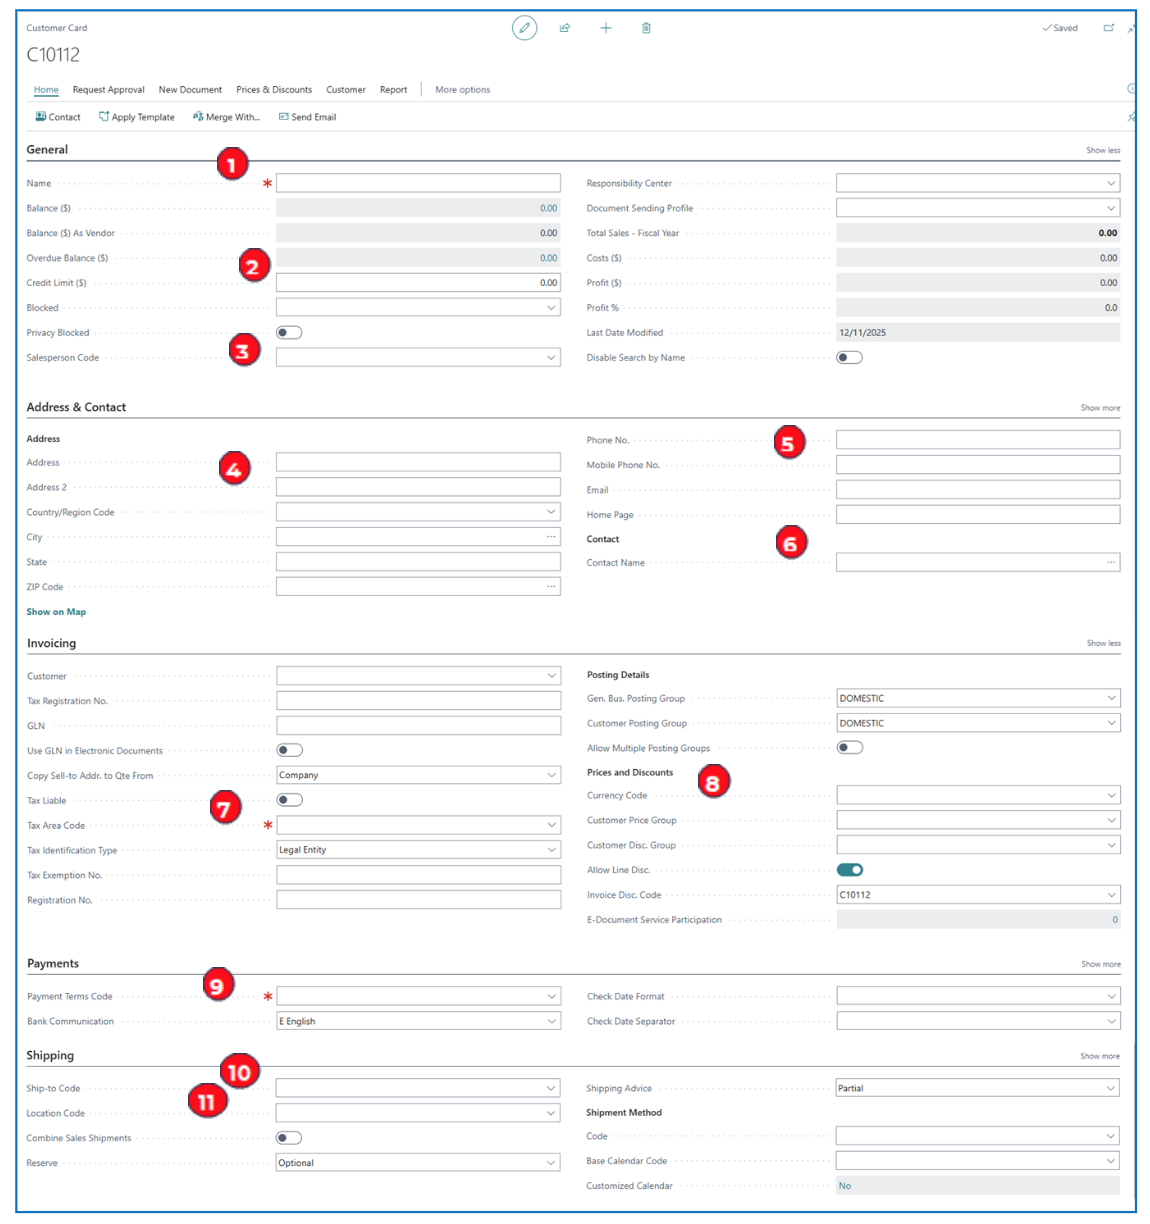
General
-
Customer Name (100-character limit)
-
Credit limit given to customer — This value is tracked against open sales invoice amounts.
-
Salesperson code — Select the assigned salesperson.
Address and Contact
-
Enter the full address for the customer. NB: for the Country/Region field, select the region code from the dropdown list.
-
Enter the phone and email address. NB: Email is the default used for sending documents such as invoices and statements. To include more than 1 email, use a semi-colon to separate them.
-
Select a (person) Contact for this customer account or create a new person contact.
Invoicing
-
(For US tenant) If the customer is liable for Sales Tax, enable the Tax Liable button and select the appropriate Tax Area Code.
-
Currency Code — If the customer trades in a foreign currency, select the relevant currency code.
Payments
- Payment Term — Select the appropriate term code. This is used to calculate the due date on a transaction (e.g. invoice) based on the document date.
Shipping
-
Ship-to Code — If the customer has different shipping addresses, each shipping address will be defined as a Ship-to Code which you can select as the default for all sales shipment.
-
Location — Select the warehouse location where the goods will be shipped from (to the customer).
Contacts
Each Customer can have several Contacts (people) in the organization. These Contacts are entered in the Contact card. Navigate to the Contact list page from within the Customer card under Home > Contact or Address & Contact FastTab:
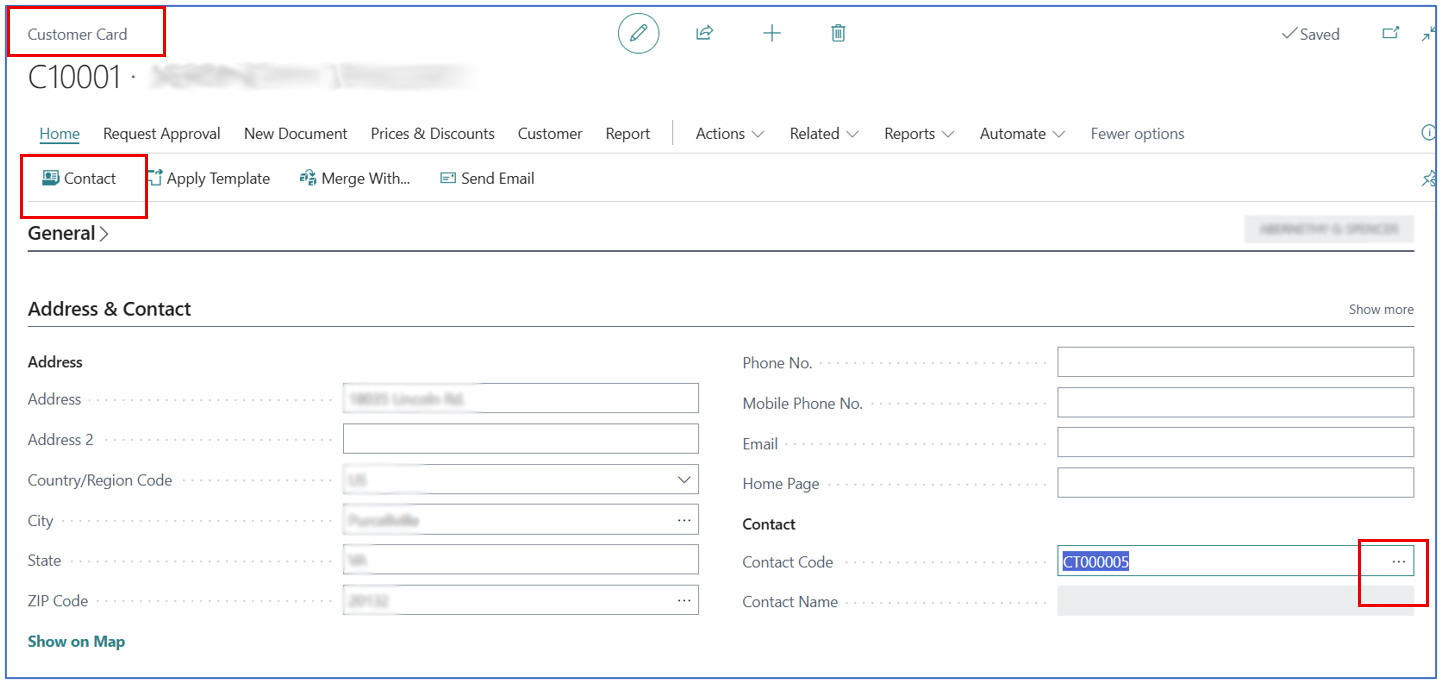
This opens the Contacts list page for the specific customer.
Example:
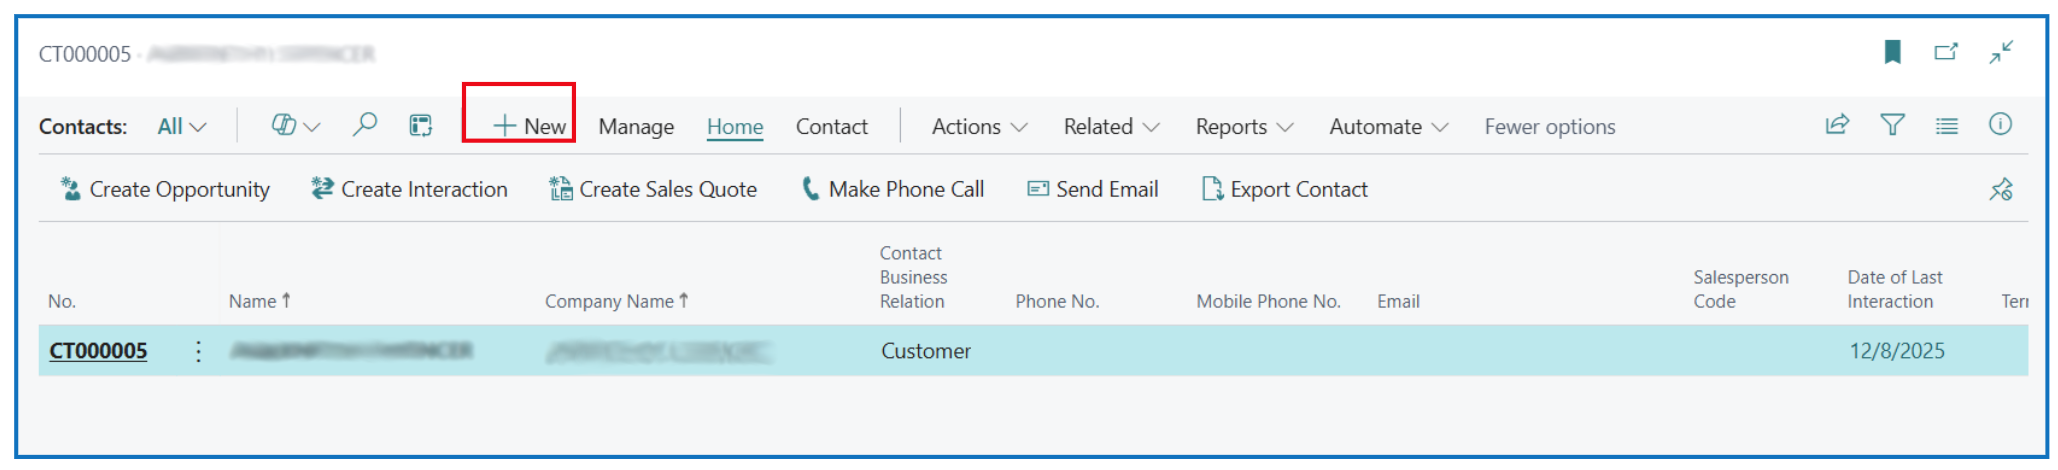
The default Contact for the customer account is the Company contact and it is in bold lettering.
Contact Card
Click on +New to open the Contact card (page) to add a new contact.

Complete the key fields for the Contact:
General
-
Name — Enter the contact name. NB: The Contact No. field will be auto-populated with the next sequence number when you complete the name field.
-
Type — This defaults to Person since you will be adding people contacts for the same organization.
-
Company No. & Company Name — These defaults from the customer account.
-
Business Relation — This default from the customer account and cannot be changed (if this is a vendor, the value will be Vendor).
-
Salesperson code — Select the assigned salesperson.
Communication
-
Address — Complete the address fields.
-
Country/Region code — Select the 2-char country code.
-
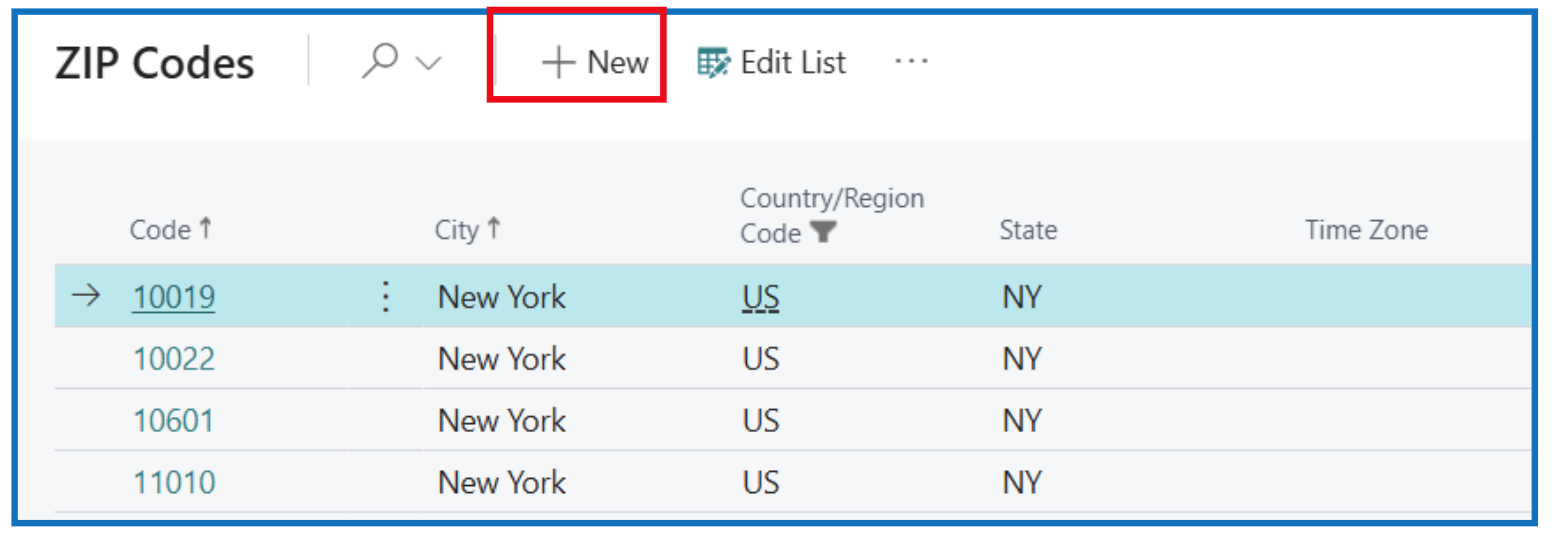
ZIP code and City — Select the available zip code or add a new zip code.
-
Phone no. — Enter the contact phone number.
-
Email — Enter the contact email address (which can be selected when sending documents).
Written By:
Peter Loo
Team Leader, Business Central
Connect on LinkedIn