Amazon Punchout Integration for Dynamics 365 Business Central User Guide
Assisted Setup Guide
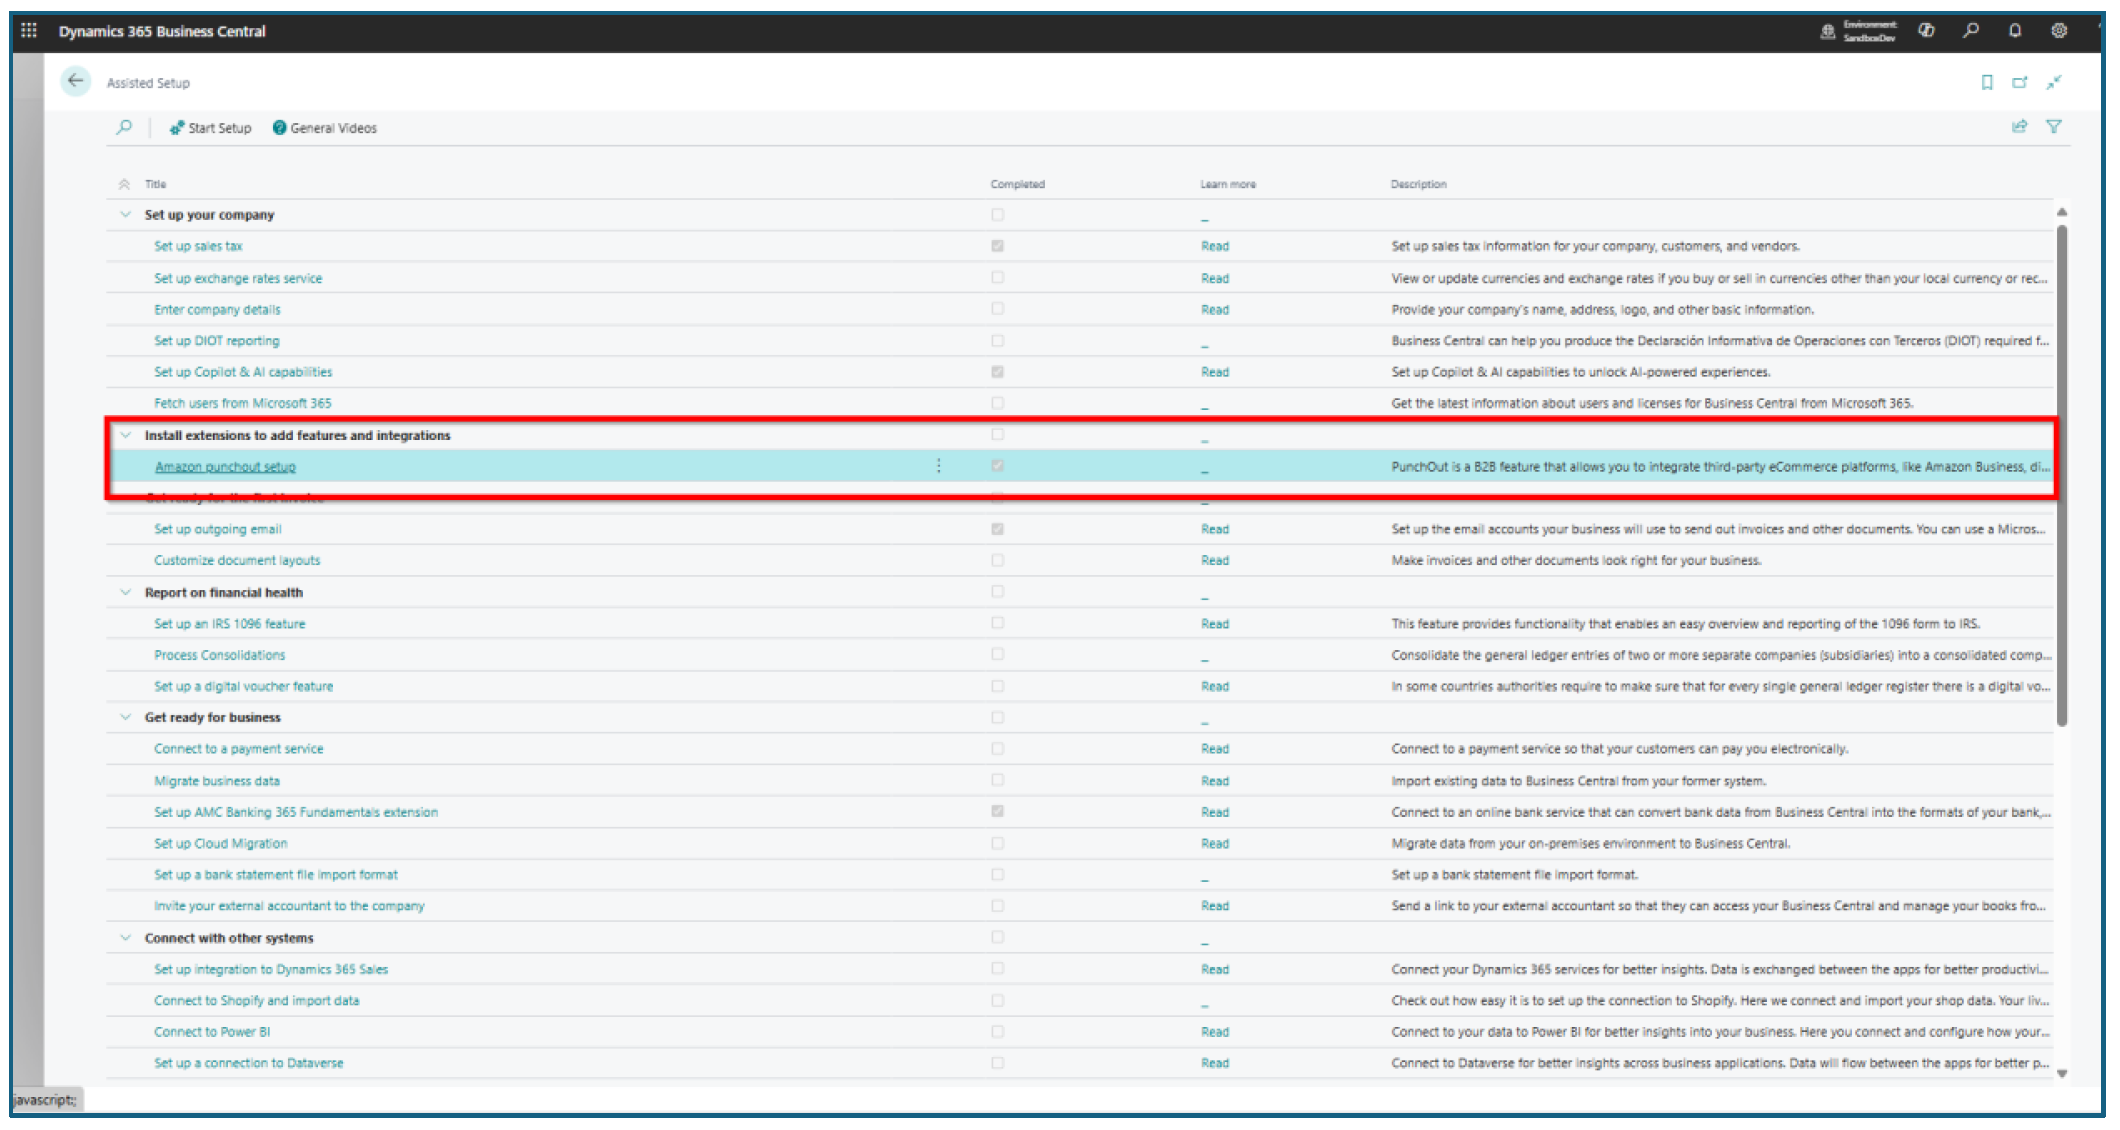
Initial Steps
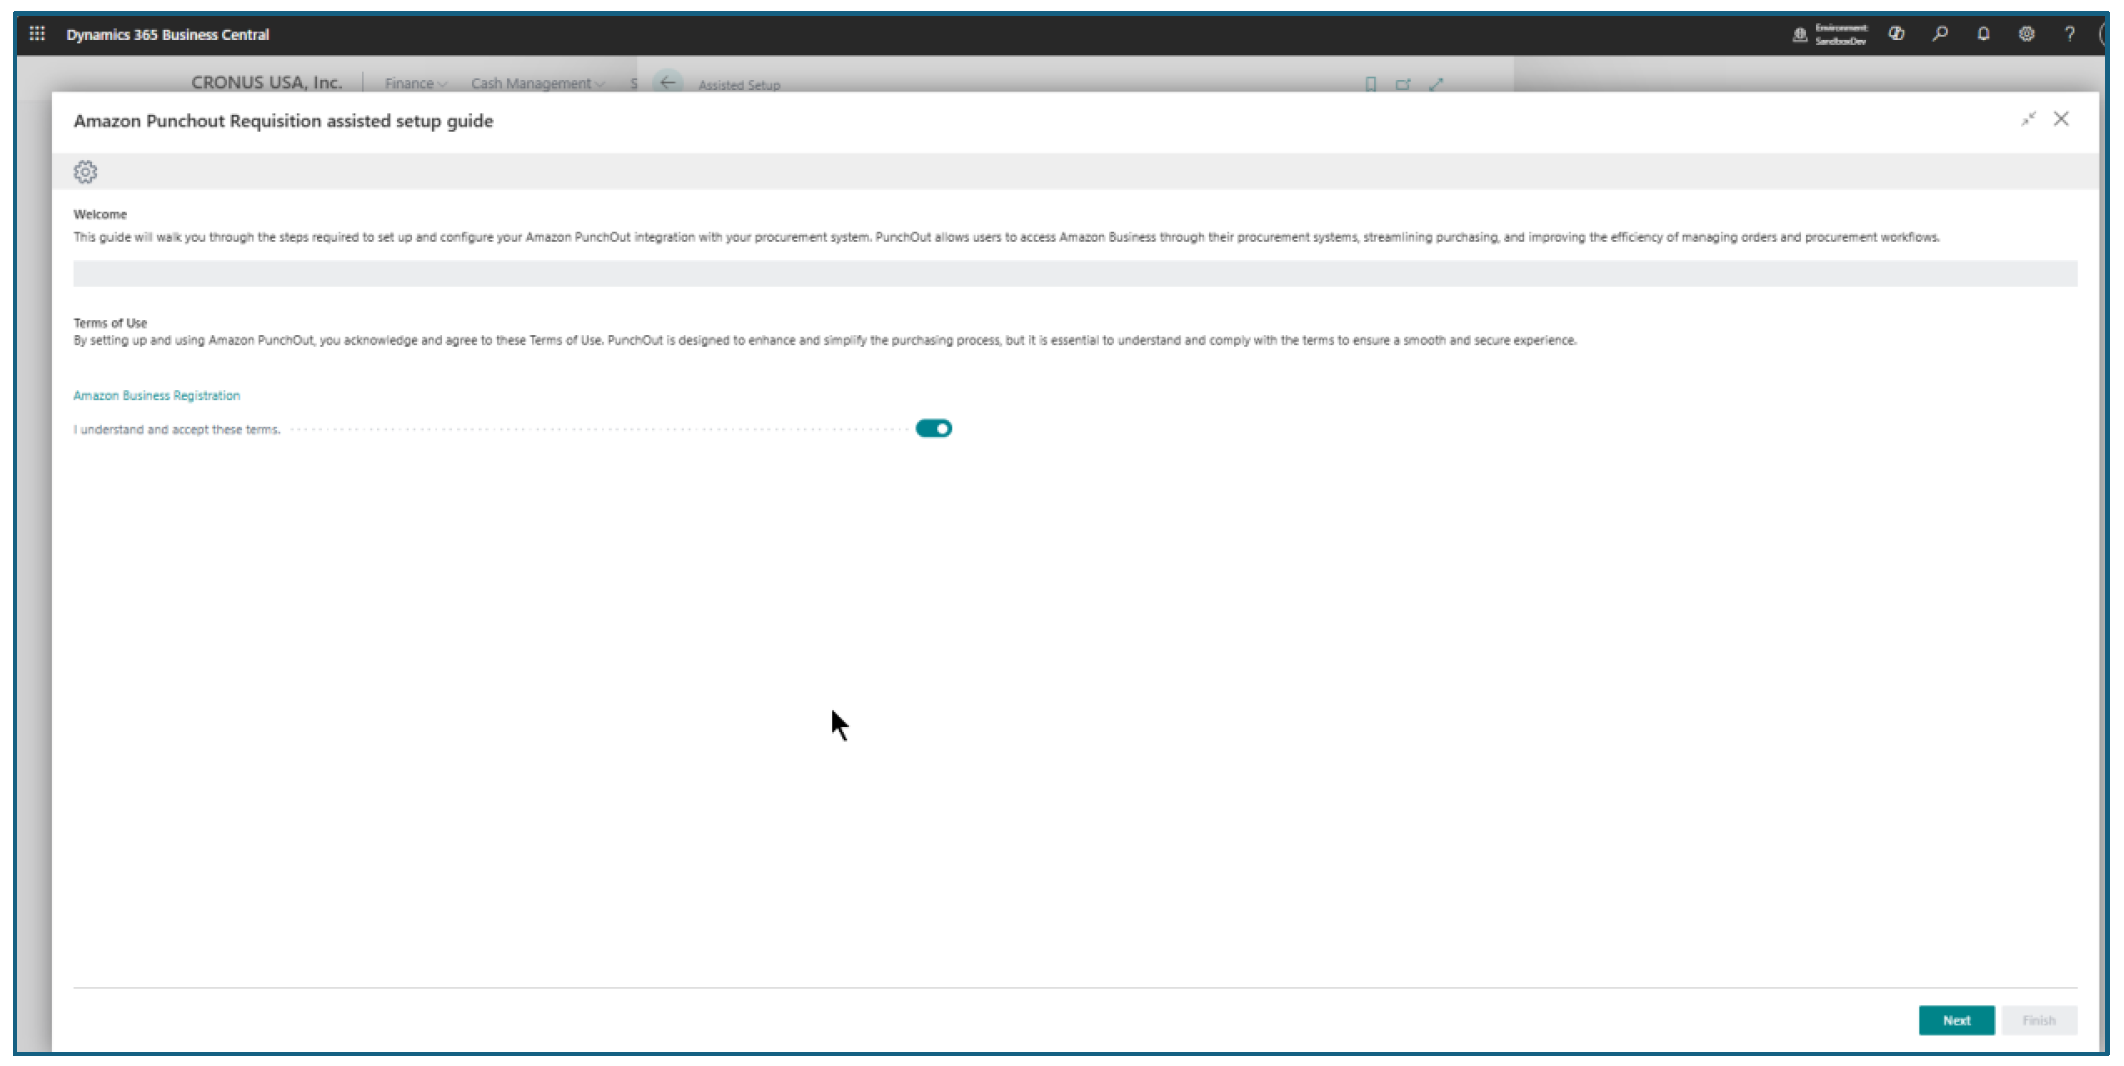
With Assisted Setup you can configure the Punchout Requisition needed to start using the system.
Accept the terms to proceed (Click Next).
Registration Details
On the next page, you need to provide details of your registration with Amazon Business and share the Business Central app registration details, which will be registered onto Azure Wallet for connecting with Amazon to get the punchout details, shipping, invoice details into Business Central.
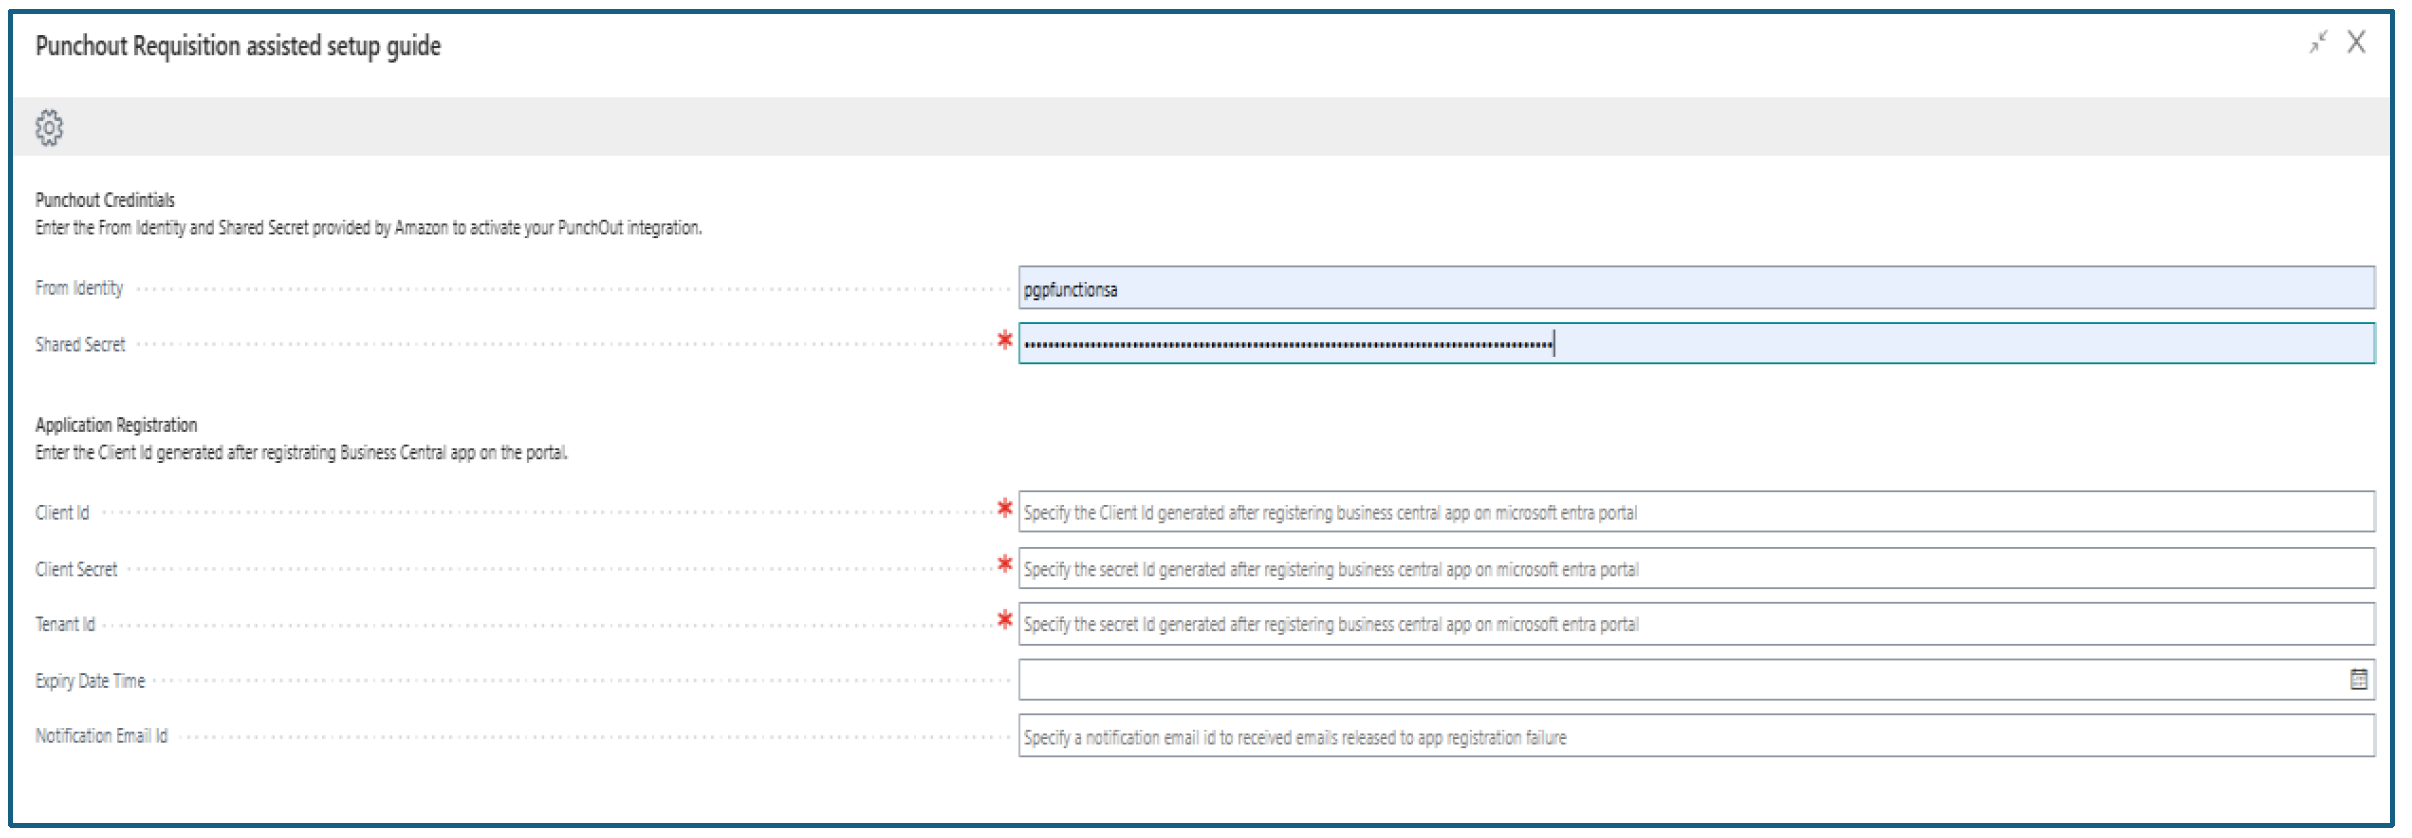
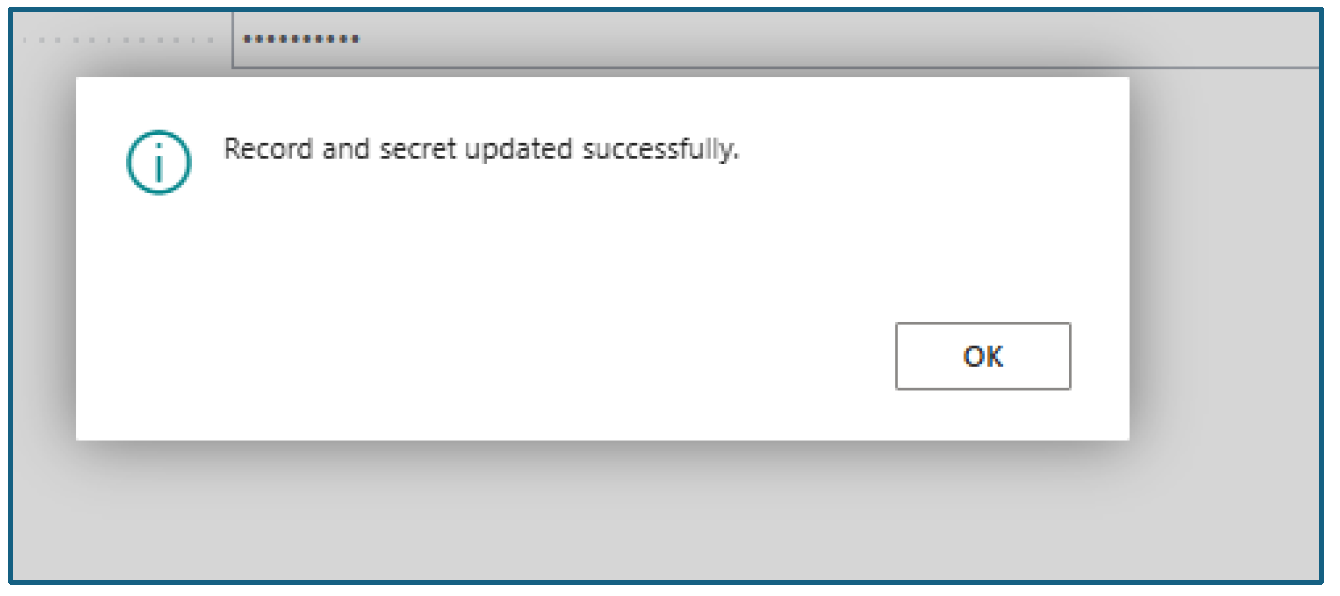
Once you click on Register App details, you can move to the next page. Registering the app is a mandatory step for the systems to connect with each other.
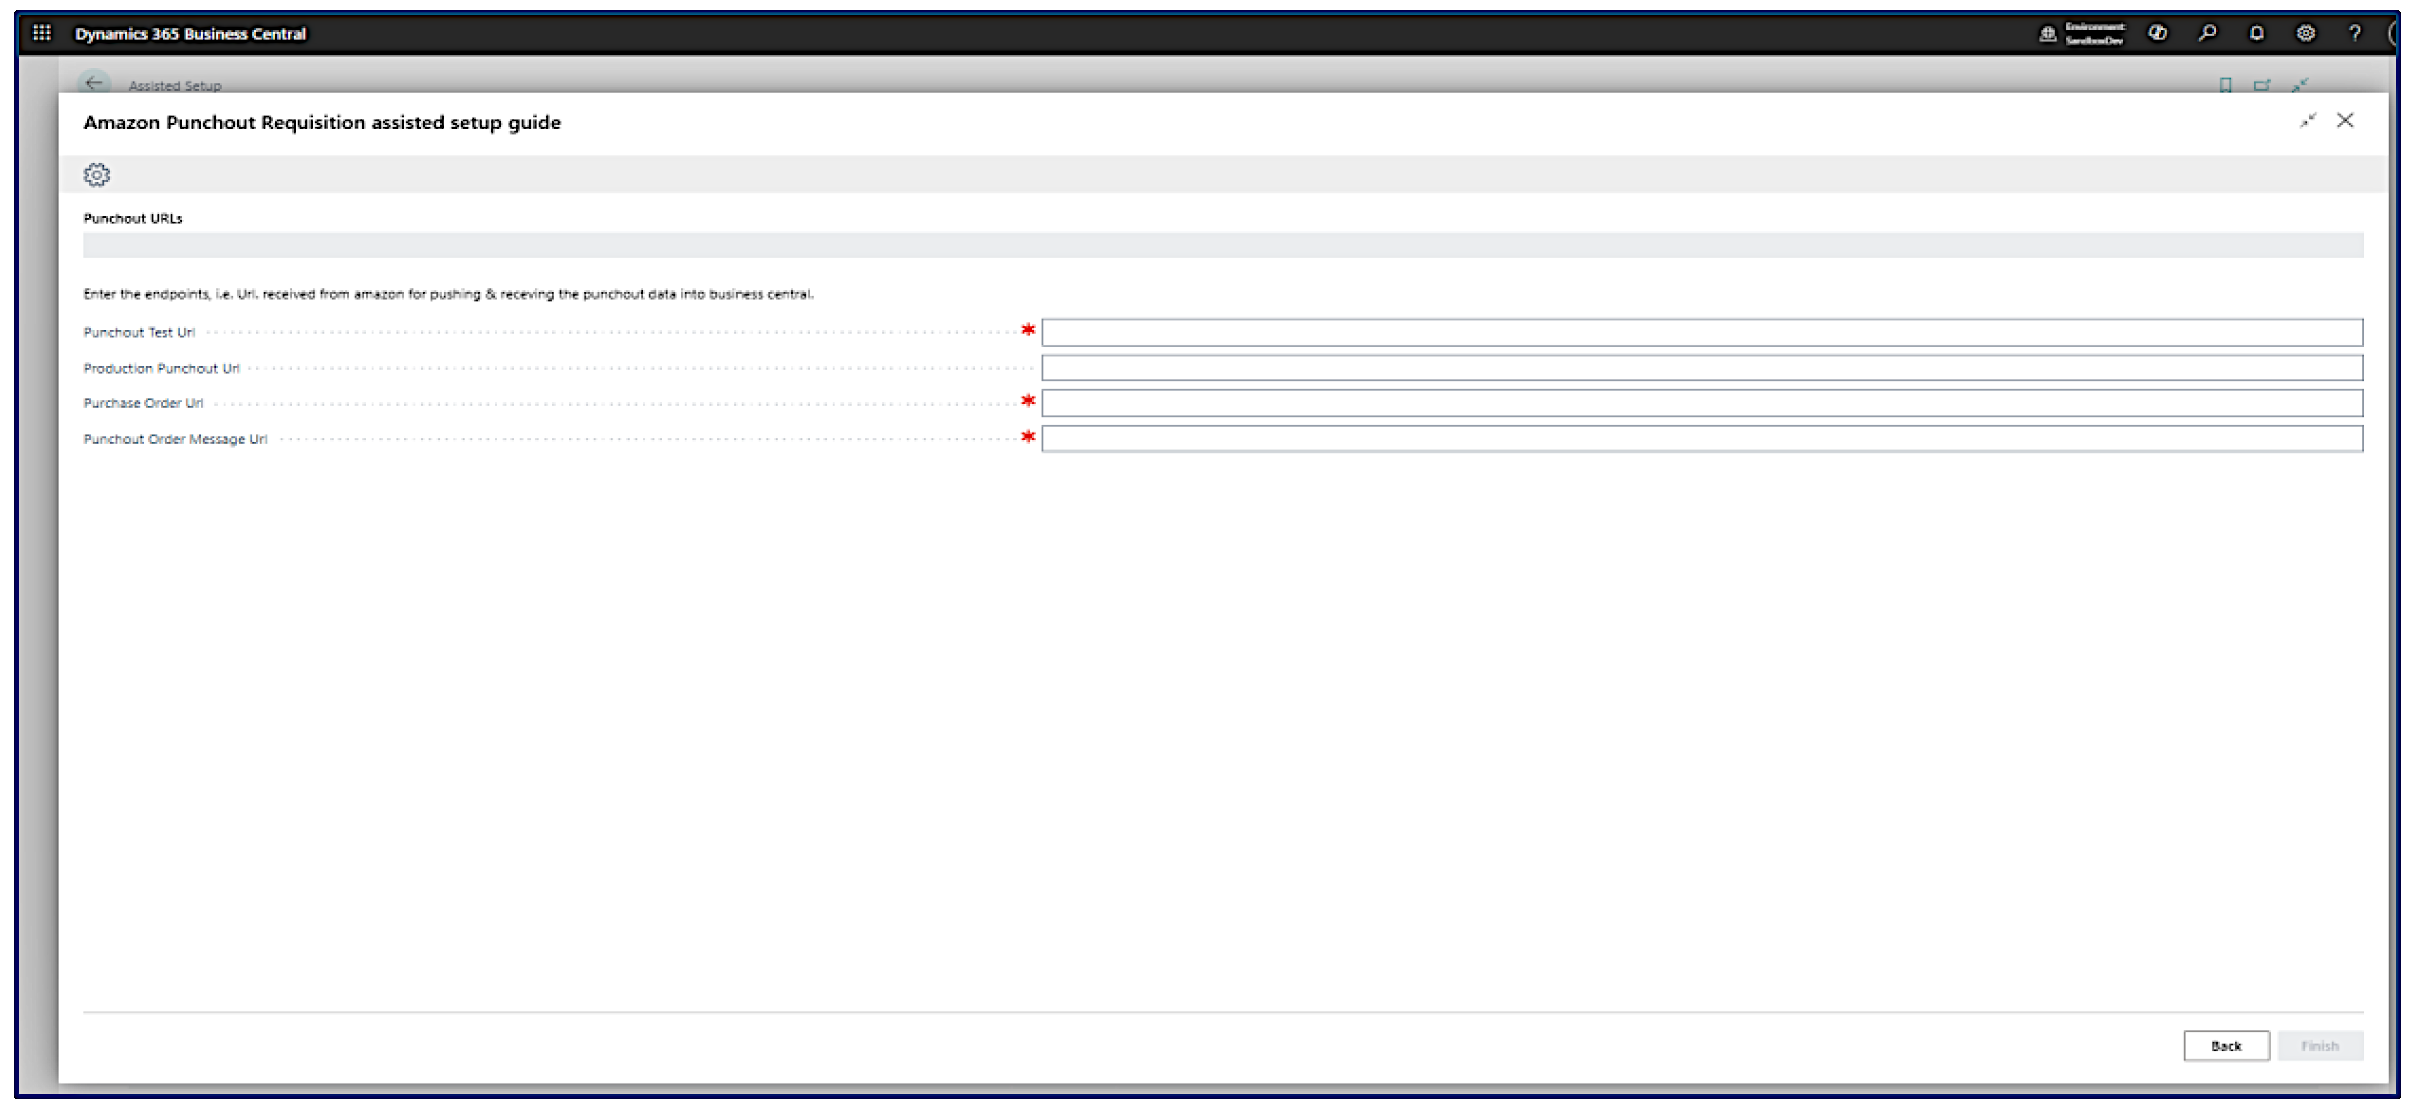
Configure Punchout
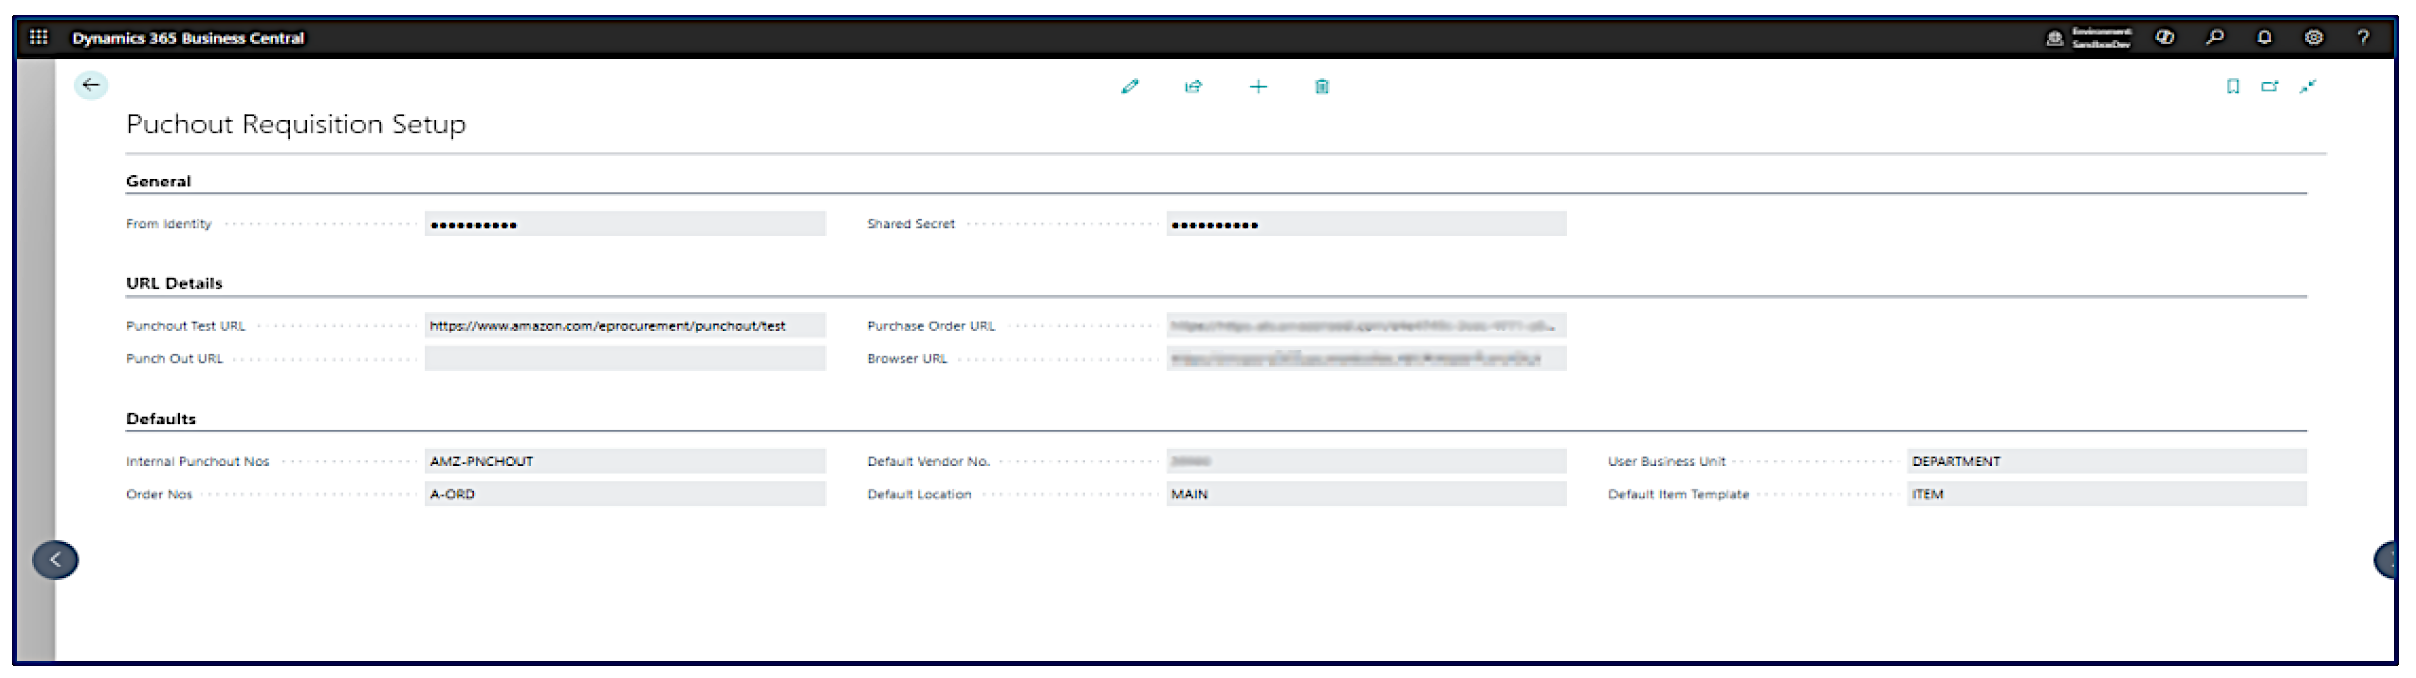
On the Punchout URL, you need to setup the end points mentioned in the Amazon Business settings.
Once you have entered the URL, on the next page you need to configure the default values i.e. number series, default vendor etc. Once all the details are selected, click on Configure Punchout, this will setup the system for users to start their punchout requests.
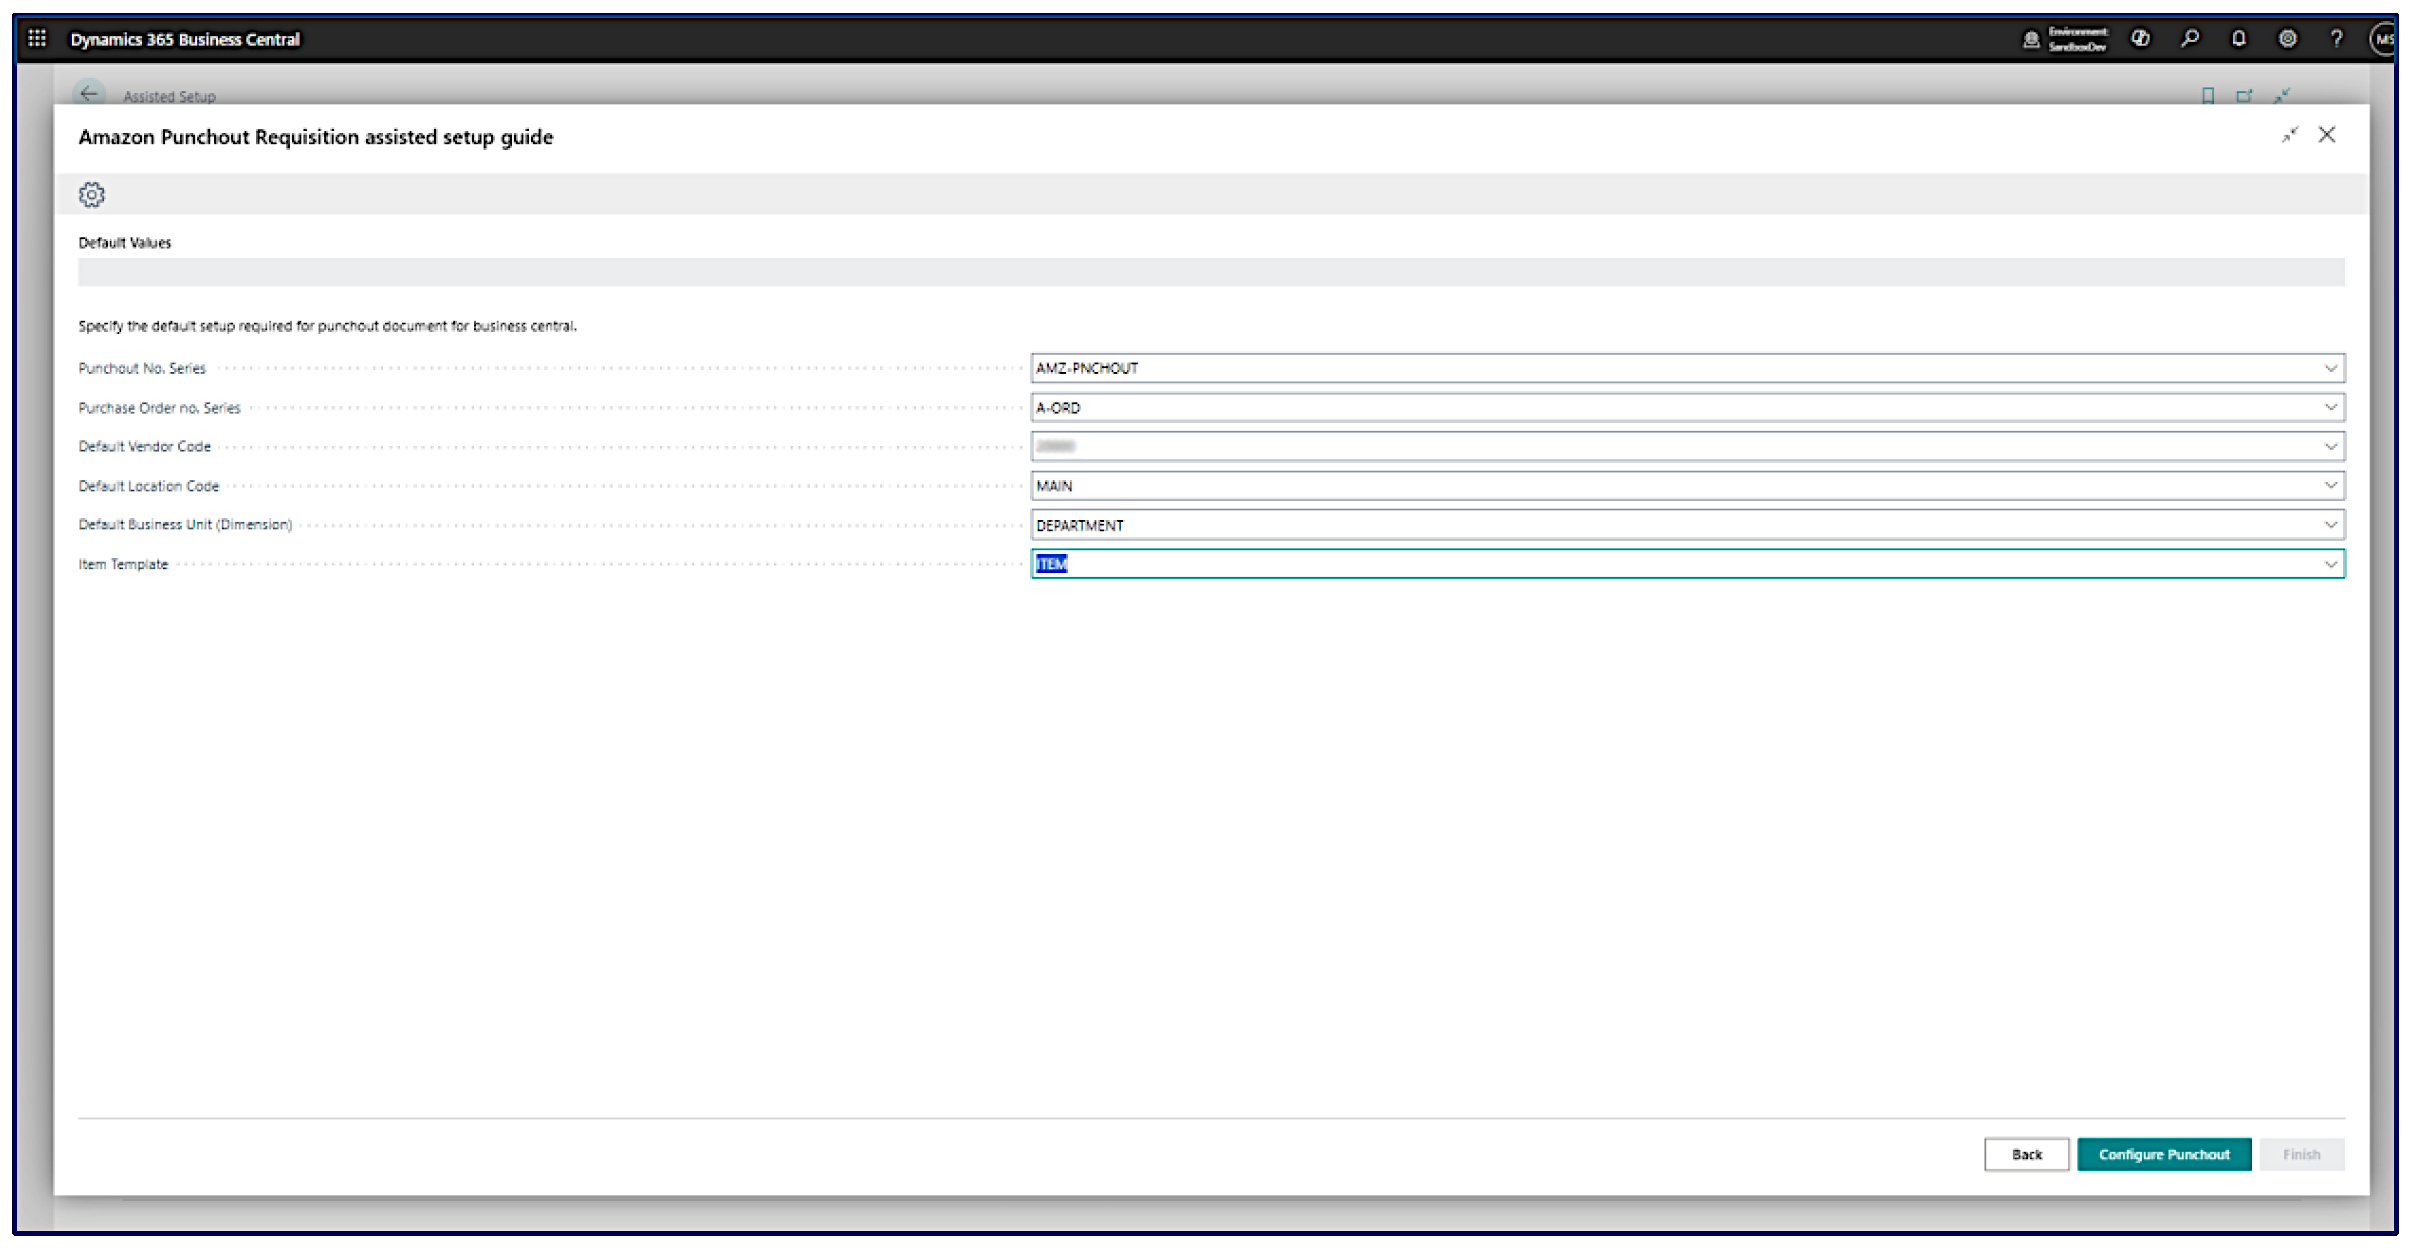
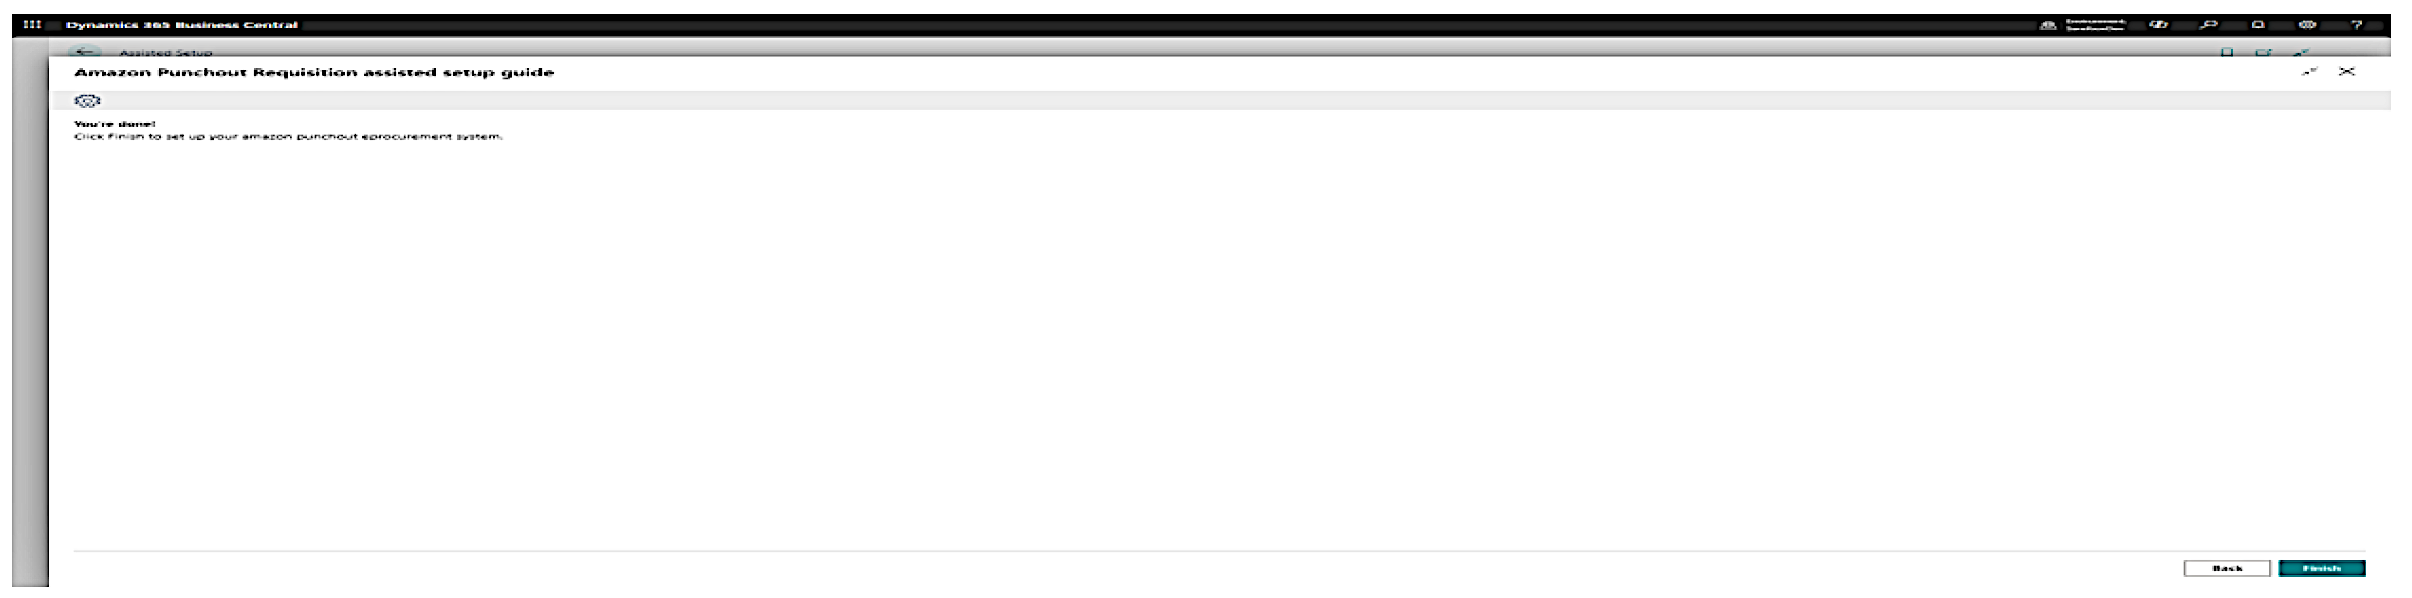
After clicking on Configure Punchout, the final step is to finish the assisted setup. By clicking Finish you ensure all setups are recorded.
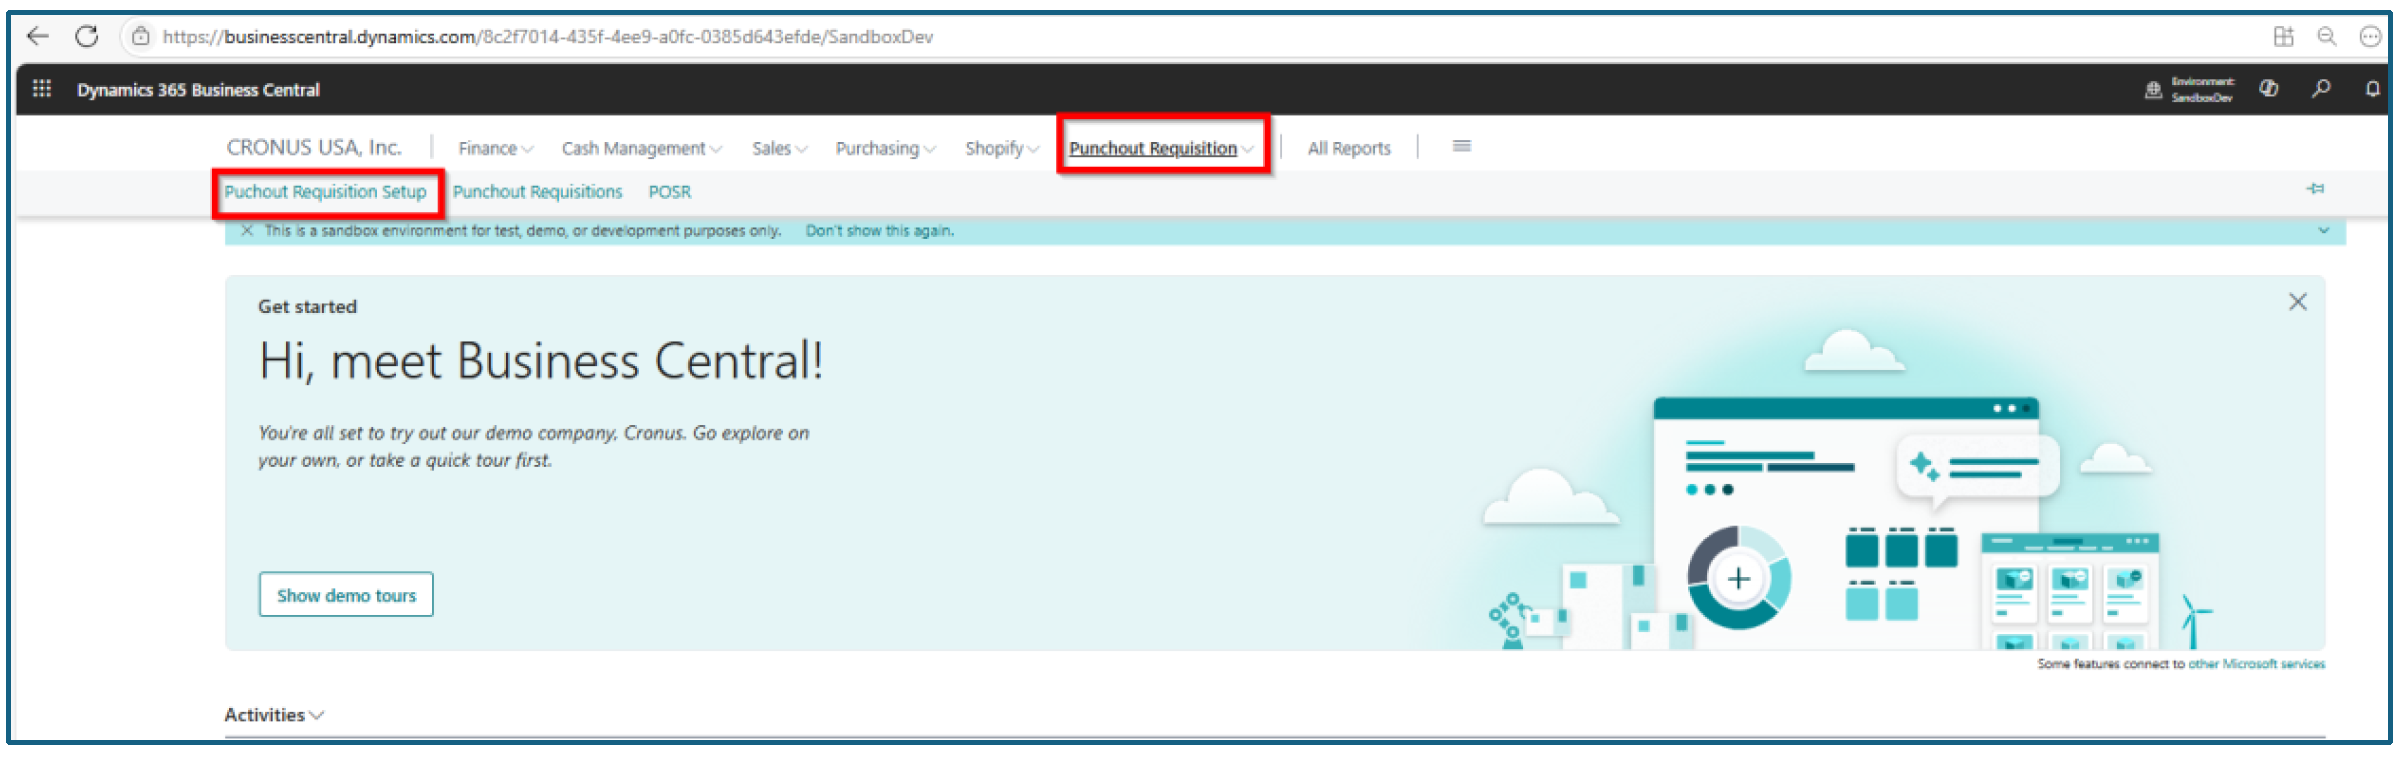
Verify Setup
To verify the punchout setups have been updated, navigate to Punchout Requisition /> Punchout Requisition Setup.